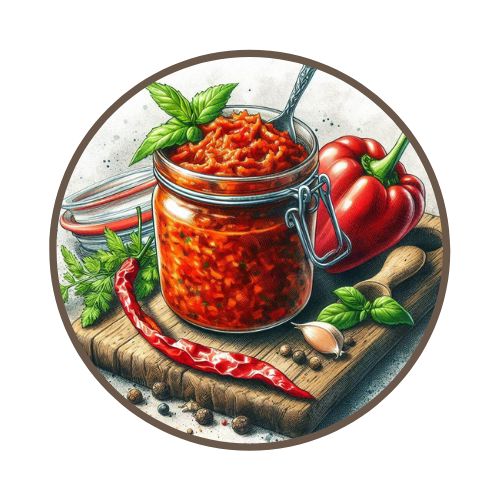
I love bell peppers. If someone told me that I could only eat one food for the rest of my life, I’d pick red bell peppers. When September comes along, you can smell roasted peppers in homes all over Serbia. This is because households are preparing a winter store called “Ajvar” /ˈaɪvɑːr/ (EYE-var), a traditional spread, sauce, dip, or side dish made of solely red bell peppers. There are variations, but the classical version is by far the best, in my opinion! Some households make a few jars, while others make enough to last them the entire year. This all depends on their willingness and capabilities - it is quite difficult to make if you don’t have the space or means to do so (a barbeque and garden are preferred).
My dad’s house makes A LOT of ajvar each year; therefore, the process is longer and more demanding. So the whole family gathers to help, and we make an event out of it! It usually takes a full day, and we always end up making a BBQ lunch to finish off and reward ourselves for our hard work.
What you’ll need:
- 8lbs Red bell peppers
- 7 fl oz Oil
- Salt
- Grinder/Mill
- Big pot (wide and shallow works best)
- Sterilized mason jars
The process:
- Wash your peppers, and remove the stalks and seeds.
- Fire up your barbeque and roast the peppers.
- Once you see the skin has started to burn, remove it from the barbeque and put it in a plastic bag or closed container. This will allow peppers to steam further and will help in removing the skins.
- When the peppers have cooled, remove the skins and leave the peppers in a colander so they drain excess water (it is also preferred to leave them soaking overnight for best results).
- Next, use your grinder or mill and mince the peppers - it will result in a mushy substance
- Put some oil in your pot, add the peppers, and pour the remaining oil over the peppers. The peppers will absorb the oil within about 20 minutes of cooking on medium to high heat
- Once it starts to boil, reduce the heat to low so that the ajvar is just simmering, and (this is the hardest part!) stir, stir, stir so it doesn’t burn! This step can usually take hours, depending on how much ajvar is prepared.
- Near the end, add salt to taste.
- The Ajvar is ready once all the liquid has evaporated and the mass becomes thick and uniform.
- Pour the Ajvar straight into the mason jars, close the lids tightly, and wrap them snugly in a blanket so that they slowly cool down.
The process is long and laborious, but the end result is absolutely amazing, and the whole family can join in and have fun preparing this wonderful dish. The best part is that it can be stored all year long, and you can eat it with anything - as a side dish, mixed in with meals, or just on a slice of bread as a spread!


Leave a comment
All comments are moderated before being published.
This site is protected by hCaptcha and the hCaptcha Privacy Policy and Terms of Service apply.